Steps to Repair the Keel on Your Fiberglass Boat
Repairing the keel of your fiberglass boat can seem daunting, but with the right approach and some basic materials, you can restore its integrity effectively. The keel is crucial as it helps stabilize the boat and ensures it sits properly in the water. Following these steps will help you repair your keel and keep your boat seaworthy.
Assess the Damage
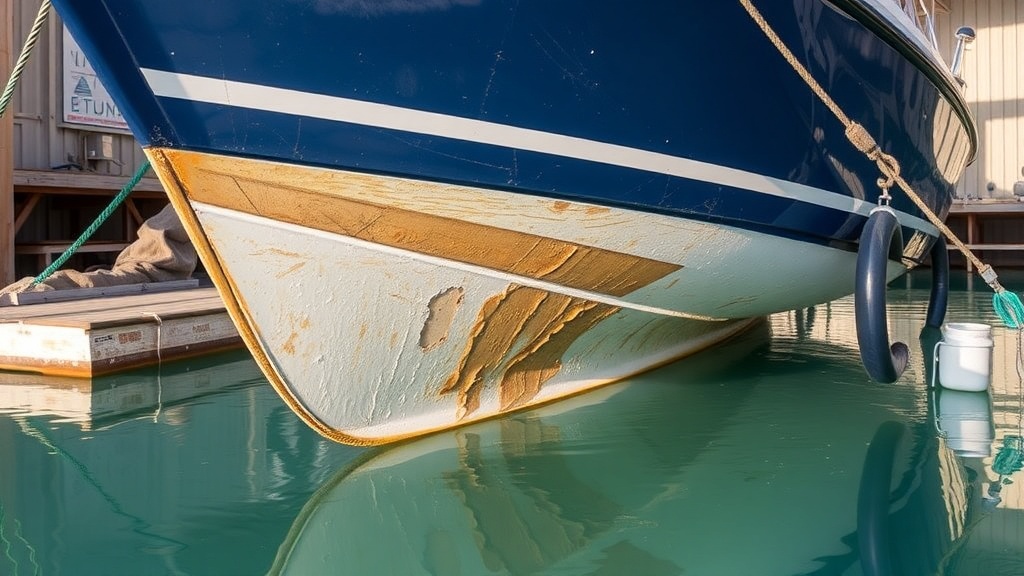
Before you start any repairs, closely examine the keel for visible signs of damage such as cracks, delamination, or missing pieces. Use a flashlight if necessary to see in dark spots. It’s essential to determine the extent of the damage to plan your repair effectively.
Gather Your Materials
Once you’ve assessed the damage, gather the tools and materials you’ll need for the repair. Here’s a list of what you might require:
- Fiberglass resin
- Fiberglass cloth or mat
- Acetone for surface cleaning
- Sandpaper (various grits)
- Scraper or putty knife
- Paintbrush or roller for applying resin
- Masking tape
- Safety gear (gloves, goggles, and face mask)
Prepare the Work Area
It’s vital to have a clean and safe working environment. Choose a well-ventilated area, preferably outdoors or in a garage with good airflow. Gather all necessary materials within reach to streamline your workflow. Make sure the surface of the keel is accessible and clear of obstacles.
Clean the Damaged Area
Using acetone and a cloth, clean the damaged area of the keel thoroughly. This step is crucial as it removes any dirt, grease, or wax that could prevent proper adhesion of the fiberglass. Allow the surface to dry completely before proceeding.
Sand the Surface
Using coarse sandpaper, sand the damaged area and a few inches around it to create a rough surface for better adhesion. Follow up with finer sandpaper to smooth out any rough edges, ensuring a good bond with the repair materials. Dust off any debris with a clean cloth.
Prepare the Fiberglass Resin
Follow the manufacturer’s instructions to mix the fiberglass resin properly. Typically, you will combine resin with a hardener in a specific ratio. Once mixed, it’s time to apply the resin. Ensure you are wearing your safety gear during this process, as fiberglass resin can be harmful to your skin and respiratory system.
Apply the Fiberglass Mat
Cut the fiberglass mat to size, ensuring it overlaps at least two inches beyond the damaged area. Start applying the mixed resin to the damaged part of the keel with a brush or roller. Lay the fiberglass mat over the resin and saturate it thoroughly with more resin. Make sure there are no air bubbles trapped beneath the mat.
Build Layers as Needed
Depending on the extent of the damage, you may need to apply multiple layers of fiberglass. Each layer should be applied after the previous one has cured adequately. Use this time to smooth out the surface to ensure it remains even and well-structured.
Let it Cure
Allow the repair to cure according to the resin’s specifications. This may take several hours or even a full day, depending on the type of resin used and environmental conditions. Ensure that the repair is undisturbed during this period.
Sand and Finish
Once cured, sand down the repaired area smoothly, using progressively finer sandpaper for a polished look. Aim to create a seamless transition from the original fiberglass to the repair. If desired, you can paint the area to match the rest of your boat for a clean and professional appearance.
Inspect Your Work
After the repair is complete, double-check the keel’s integrity. It’s essential to ensure that your repair has restored the keel’s structural soundness. Make sure to inspect it periodically to ensure no new issues arise.
By following these steps, you can successfully repair the keel on your fiberglass boat. Proper maintenance and attention will keep your vessel in excellent shape, ready for your next adventure on the water.
Common Mistakes to Avoid When Repairing a Boat Keel
Repairing a boat keel is a crucial task for boat owners who want to maintain their vessel’s performance and safety. However, many make mistakes that can lead to costly repairs or unsafe conditions. By being mindful of these common errors, you can enhance the quality of your repairs and ensure a smooth sailing experience.
Overlooking Proper Assessment
Many boat owners dive into repair without thoroughly assessing the damage to the keel. Start by inspecting the keel for cracks, blisters, or other signs of damage. This assessment includes checking the integrity of the bonding between the keel and the hull. Failing to identify all the damage can result in repairs that are only temporary, leading to larger issues down the road.
Skipping the Right Materials
Using inappropriate materials can lead to failure in repairs. For a fiberglass keel, it’s essential to use compatible epoxy resins and fiberglass cloth. Some boat owners might opt for generic materials, thinking they’ll save money. This approach can backfire, as poor-quality materials may not adhere properly or withstand marine environments, leading to further complications.
Neglecting to Prepare the Surface
Surface preparation is vital for a successful repair. You must clean, sand, and properly prepare the damaged area before applying any resin or patch. Neglecting this step can affect the bond between the new material and the old surface. Make sure to remove any old paint, grease, or dirt that might hinder the repair process.
Ignoring Environmental Conditions
Working under unsuitable weather conditions can negatively affect your repair. High humidity or excessive heat can cause issues with the curing process of epoxies and resins. Be sure to check the guidelines provided by the manufacturer regarding temperature and humidity. It may be necessary to delay your repairs if conditions aren’t right.
Not Following the Manufacturer’s Instructions
Every repair material and process comes with specific instructions. Failing to follow these can lead to problems. Whether it’s the mixing ratio for epoxy or the drying time, following instructions ensures that you achieve the desired strength and integrity in your repair. Always consult the technical data sheets of the products you’re using.
Rushing the Repair Process
Taking your time during the repair can not only improve the outcome but also ensure your safety while on the water. Rushing through can lead to missed steps or subpar results. Allow sufficient time for each phase of the repair, including curing times, to avoid returning to the same issue soon after. A well-done repair will last longer and provide more peace of mind.
Failing to Reinforce the Repair
When making repairs to a keel, the integrity of the structure is key. Some repairs involve more than just applying a patch; they need reinforcement to withstand the forces the keel will face. Consider adding additional layers of fiberglass or using bolts if necessary. This added strength can prevent future problems.
Disregarding Regular Maintenance
After completing the repairs, regular maintenance is essential. Check the keel periodically for signs of wear, such as new cracks or water intrusion. Routine inspections can catch potential issues before they become major repairs, saving you time and money in the long run.
Ignoring Professional Help
If you’re unsure about any part of the repair process, don’t hesitate to seek professional assistance. Sometimes, hiring an expert can save you from making errors that could endanger your safety or lead to costly repairs. A professional can provide insights and expertise that ensure your keel is repaired correctly.
By avoiding these common mistakes, you can ensure that your keel repair is successful and that your boat remains sea-worthy. Remember, taking the time to do it right often saves time and money in the end, allowing you to enjoy your time on the water safely.
Conclusion
Repairing the keel on your fiberglass boat is a significant undertaking that can restore your vessel’s performance and longevity. By following the essential steps outlined, you not only ensure a successful repair but also enhance the overall integrity of your boat. Remember, a well-maintained keel contributes to better handling and improved safety while on the water.
Moreover, being mindful of common mistakes can save you time, effort, and resources. Avoiding issues like insufficient surface preparation or neglecting to use the correct resin can prevent further damage down the line. Always double-check your materials and techniques before proceeding, and don’t hesitate to seek guidance if you encounter challenges along the way.
As you embark on your repair journey, patience and attention to detail will be your best friends. The satisfaction of a job well done, matched with the enhanced performance of your boat, is worth the effort. Whether you are a seasoned boater or new to the world of fiberglass, embracing the repair process allows for a deeper connection to your vessel and boosts your confidence on the water.
Taking these proactive steps ensures that your fiberglass boat not only remains functional but also retains its value. Happy repairing and safe sailing!