Step-by-Step Guide on How to Repair Hypalon Inflatable Boat Damage
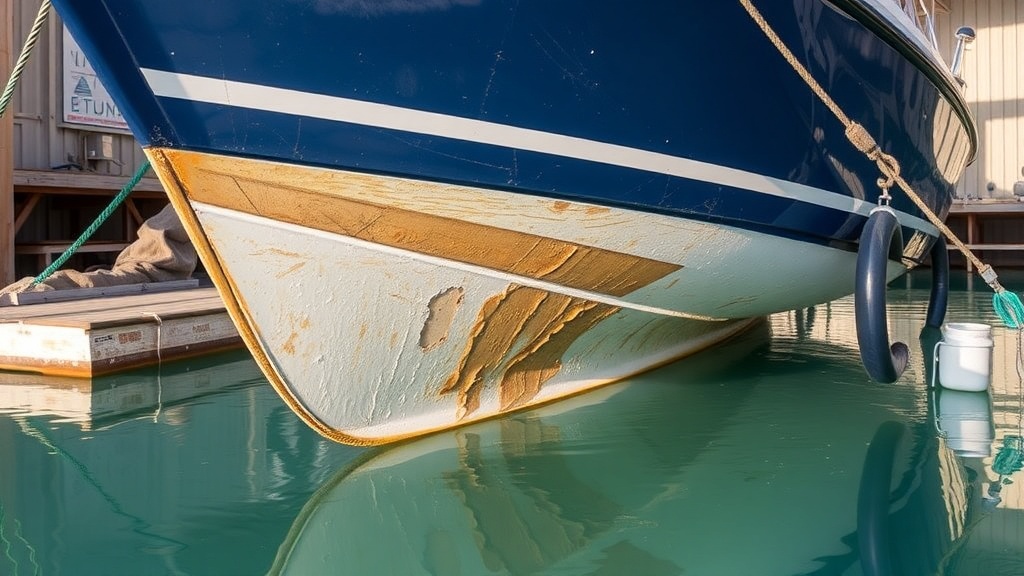
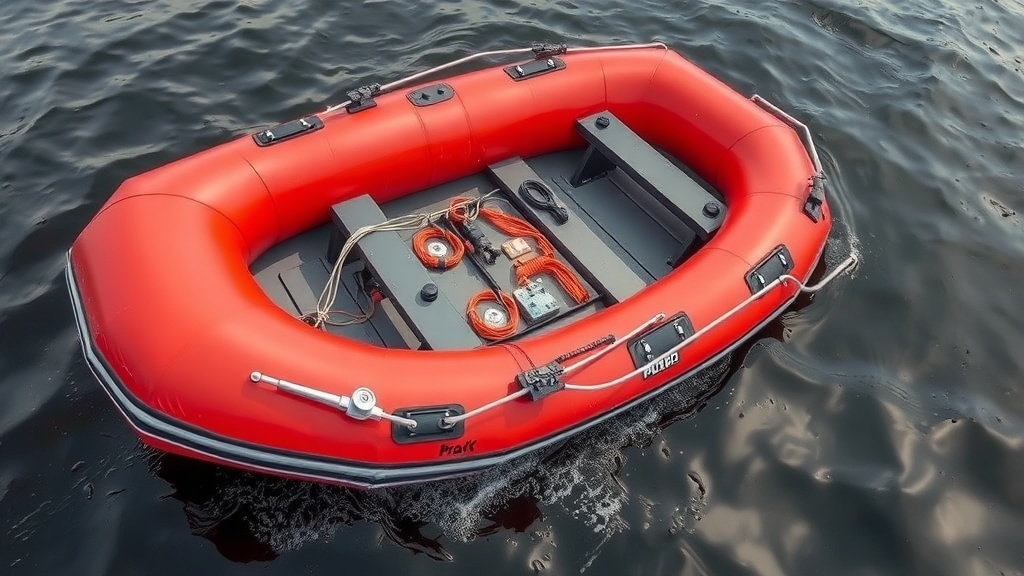
If you own a Hypalon inflatable boat, you know it’s a robust choice for water adventures. However, wear and tear or accidental damage can occur. Fortunately, repairing your Hypalon inflatable boat is feasible with the right steps and materials. Follow this step-by-step guide to restore your vessel and get back to enjoying the water.
Gather Your Materials
Before you begin, make sure you have all necessary materials at hand:
- Hypalon repair kit (with patches, adhesive, and roller)
- 220-grit sandpaper
- Acetone or rubbing alcohol
- Clean cloths
- Scissors
- Measuring tape
- Weight or heavy objects (to hold the patch in place)
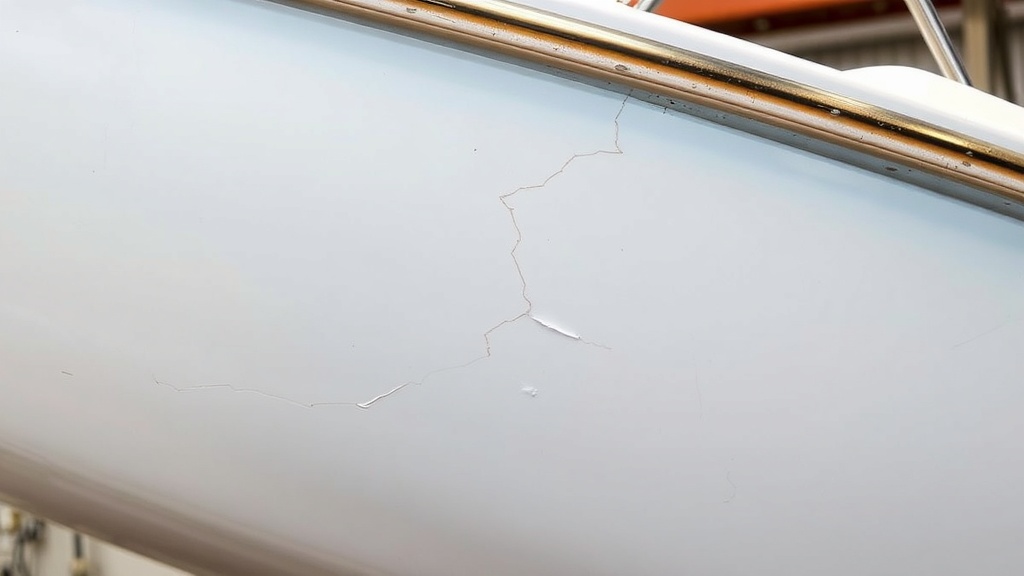
Identify the Damage
The first step in repairing your inflatable boat is to locate the damage. Look for:
- Punctures or holes
- Unsealed seams
- Rips or tears in the Hypalon material
Once identified, clean the area around the damage to ensure effective adhesion during the repair process.
Prepare the Surface
Use 220-grit sandpaper to gently scuff the damaged area and the patch. This roughening process allows the adhesive to bond better. Wipe the sanded areas with a clean cloth soaked in acetone or rubbing alcohol to remove dust and oils.
Cut the Patch
For optimal results, cut a patch from the Hypalon repair kit that exceeds the damaged area by at least an inch on all sides. A larger patch helps distribute stress and prevents future leaks.
Apply the Adhesive
Now it’s time to apply the adhesive from the repair kit:
- Spread a thin layer on both the damaged area and the back of the patch.
- Allow the adhesive to tack for about 5 to 10 minutes, or as specified by the manufacturer.
Attach the Patch
Carefully place the patch over the affected area, ensuring it’s centered. Press firmly, and use a roller to eliminate any air bubbles or wrinkles. This step is crucial for proper adhesion.
Secure the Patch
After placing the patch, use weights or heavy objects to hold it securely in position. Allow the adhesive to cure completely, which usually takes 24 to 48 hours. Avoid moving the boat during this time.
Seal the Edges
After the patch has cured, you can further enhance the repair by applying another layer of adhesive around the edges. This extra step provides longevity and a watertight seal.
Test the Repair
Before heading back into the waters, perform a leakage test:
- Inflate the boat fully.
- Look for any hissing sounds or visible air loss.
- Submerge the repaired area briefly in water. If bubbles form, there may still be a problem.
If everything checks out, your boat is now ready for use!
Maintenance Tips
To prolong the life of your Hypalon inflatable boat, consider following these maintenance tips:
- Store your boat away from direct sunlight when not in use.
- Regularly inspect for signs of wear and tear.
- Clean the boat using mild soap and freshwater after every outing.
Repairing your Hypalon inflatable boat can seem daunting, but with these steps, you can efficiently manage the repairs. With attention to detail and proper care, your boat will be ready to hit the water again in no time!
Essential Tools and Materials for Hypalon Boat Repairs
If you find yourself needing to repair your Hypalon inflatable boat, gathering the right tools and materials is essential. Proper repairs ensure the longevity and performance of your boat while also keeping you safe on the water. Here’s a thorough overview of what you will need for effective and seamless repairs.
Essential Tools
- Scissors: Sharp scissors are necessary for cutting Hypalon fabric and patches. A clean cut is vital to avoid issues during the adhesive application.
- Utility Knife: A utility knife can be useful for more intricate cutting tasks where precision is critical.
- Measuring Tape: Accurate measurements are crucial when cutting patches or determining the size of the damaged area.
- Brushes: Get a set of small brushes for applying adhesive evenly and precisely. A good brush helps to avoid over-application and mess.
- Roller: A small roller can help ensure the adhesive bonds well between layers. It provides even pressure and helps eliminate air bubbles.
Necessary Adhesives
The type of adhesive you use can significantly impact the success of your repair. Keep these options in mind:
- Hypalon Adhesive: Look for products specifically made for Hypalon. These adhesives are formulated to create a strong bond with the material.
- Contact Cement: This is another viable option, but make sure it is compatible with Hypalon. Follow the manufacturer’s instructions for the best results.
- Sealant: A good sealant can be beneficial for sealing cracks or seams that are not completely torn. It acts as a protective layer.
Repair Kits
Investing in a proper repair kit specifically designed for Hypalon inflatable boats can save you time and effort. Here’s what to look for:
- Patches: High-quality Hypalon patches are necessary for covering damaged areas. They come in various sizes and shapes, allowing you to find the perfect fit for your repairs.
- Fabric: In cases of large rips, you may need additional Hypalon fabric. This can be cut into custom patches for larger areas.
- Instructions: A good repair kit includes detailed instructions to guide you through the repair process step-by-step.
Miscellaneous Materials
You may also need some other materials to complete your repairs effectively. Consider adding the following items to your toolkit:
- Primer: Some adhesives require a primer to prepare the surface, helping ensure a strong bond between the materials.
- Rubbing Alcohol: This is helpful for cleaning the repair surface before applying adhesive to ensure it’s free from dirt and oils.
- Cloth: Keep some lint-free cloths on hand for cleaning and applying adhesives as necessary.
- Weight or Clamp: Using weights or clamps can help hold patches in place during the curing process, which is critical for a successful repair.
Safety Gear
While working on repairs, your safety is vital. Don’t forget the importance of protective equipment:
- Gloves: Nitrile gloves protect your hands from chemicals and adhesives.
- Mask: A mask can help protect you from inhaling fumes from adhesives, especially in enclosed spaces.
- Safety Goggles: They provide protection from any flying debris while you’re cutting or working with tools.
By having these tools and materials on hand, you’re setting yourself up for a successful repair process. Ensure that you follow all instructions carefully and allow sufficient curing time for adhesives, as this will maximize the durability and effectiveness of your repairs. Remember, preparation is key to keeping your Hypalon inflatable boat in top shape for your next adventure on the water!
Conclusion
Repairing a Hypalon inflatable boat may seem daunting, but with the right knowledge and tools, you can confidently restore your vessel to its former glory. By following the step-by-step guide outlined, you’ve learned how to assess damage, prepare surfaces properly, and apply patches effectively. Mastery of these techniques not only enhances the durability of your boat but also extends its lifespan, allowing for many more adventures on the water.
The right tools and materials play a crucial role in ensuring the quality of your repairs. Having essential items like Hypalon adhesive, patches, and cleaning supplies on hand makes the process smoother and more efficient. Remember, a well-prepared workspace and the right products are key to achieving successful repairs, which is vital for safety and enjoyment.
Don’t be discouraged if your first repair doesn’t turn out perfectly; like any skill, practice makes progress. With each repair, you will grow more adept and gain confidence in your abilities. Regular inspections after repairing damages will help maintain your inflatable boat, allowing you to spot potential issues before they escalate.
Embrace the learning process and take pride in your handiwork. A well-maintained Hypalon inflatable boat not only performs better but also saves you money in the long run. As you venture out into the waters, know you’ve put in the effort to ensure a safe and enjoyable experience for yourself and others. Happy boating!