Step-by-Step Guide on How to Repair Hairline Cracks in Boat Gel Coat
Maintaining your boat’s gel coat is crucial for its appearance and longevity. One common issue boat owners face is hairline cracks. Repairing these cracks promptly can prevent further damage. Here’s a step-by-step guide to help you through the repair process.
Gather Your Tools and Materials
Before you start, it’s essential to have all the necessary tools and materials on hand. Here’s what you’ll need:
- Marine-grade gel coat repair kit
- Acetone or rubbing alcohol
- Masking tape
- Sandpaper (grit ranges from 80 to 400)
- Paintbrush or mixing stick
- Clean cloths
- Safety goggles and gloves
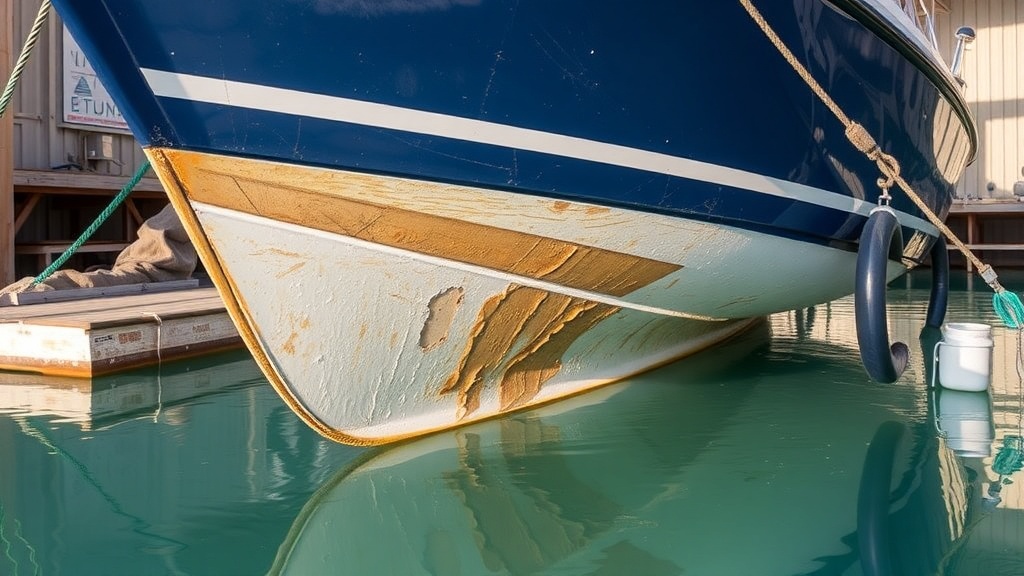
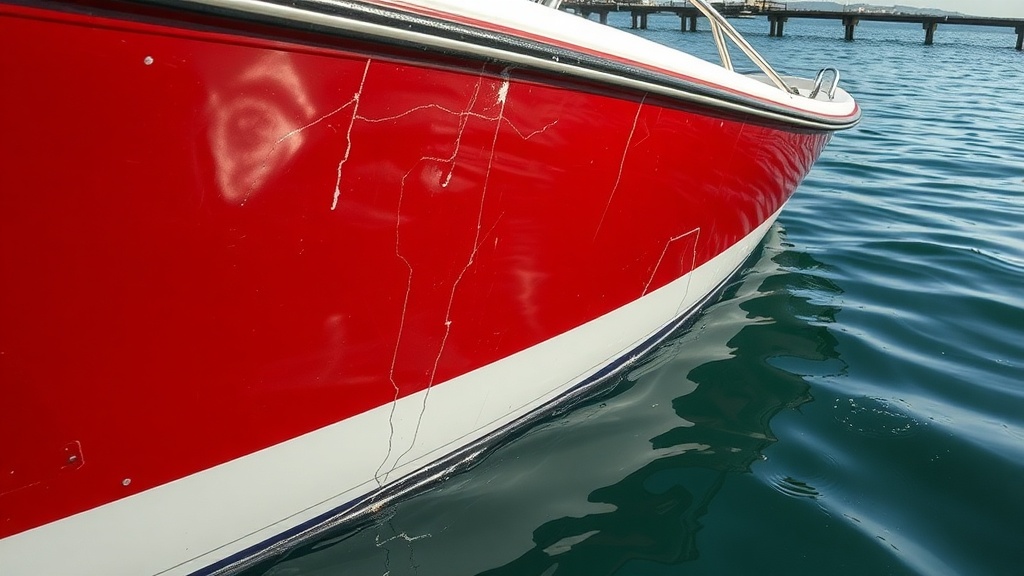
Assess the Damage
Take a close look at the hairline cracks in your boat’s gel coat. Understanding the extent of the damage is crucial. For very minor cracks, the repair process can be straightforward. However, if you notice deeper cracks, it might be wise to consult a professional. Ensure that the area around the cracks is clean and dry before proceeding.
Clean the Area
Using acetone or rubbing alcohol, thoroughly clean the area around the cracks. This step helps remove dirt, grease, and wax, ensuring that your repair adheres properly. Use a clean cloth to wipe the area dry, making sure no residue remains.
Sand the Cracks
To prepare the cracks for repair, sand them lightly with 80-grit sandpaper. Be careful not to sand too aggressively; you just want to roughen the surface. Once you’ve sanded the area, switch to 220-grit sandpaper to smooth it out. This will help the gel coat adhere better. Remember to wipe the area clean again after sanding.
Apply Masking Tape
To protect the surrounding areas from excess gel coat, apply masking tape around the cracks. This step ensures a neat application and limits the need for additional sanding later.
Prepare the Gel Coat
Follow the instructions provided in your marine-grade gel coat repair kit. Typically, you’ll need to mix the gel coat with a hardener. Use a paintbrush or mixing stick to prepare the mixture carefully. Be mindful of the proportions outlined in the kit to achieve the best results.
Fill the Cracks
Using a small brush, apply the gel coat mixture to the cracks. Make sure to fill them completely, as this will prevent water and air from getting underneath the surface. Smooth the gel coat over the area, and be cautious to avoid overfilling.
Allow to Cure
Let the gel coat cure according to the manufacturer’s instructions. This time can vary, so be patient. Typically, it can take several hours to a day for the repair to set completely.
Sanding the Repaired Area
Once the gel coat is fully cured, it’s time for sanding again. Start with 400-grit sandpaper to level the newly applied gel coat with the existing surface. Then, move to a finer grit, such as 600 or higher, to achieve a smooth finish. During this process, ensure you’re sanding evenly to avoid creating further imperfections.
Polishing the Surface
After sanding, it’s beneficial to polish the repaired area. Use a gel coat polish and a soft cloth to restore the shine. This step not only improves the appearance but also adds an extra layer of protection against the elements.
Remove the Masking Tape
Carefully remove the masking tape once you’re satisfied with the finish. Take your time to ensure you don’t accidentally peel away any excess gel coat.
Final Inspection
Inspect your work. Look for any uneven areas or missed spots that might need additional touch-up. A well-done repair can keep your boat looking great and extend its lifespan.
By following these detailed steps, you can successfully repair hairline cracks in your boat’s gel coat. Regular maintenance and quick repairs can save you from more extensive damage in the future.
Common Misconceptions About Boat Gel Coat Maintenance and Repair
Many boat owners believe they have a solid understanding of gel coat maintenance and repair. However, several misconceptions can lead to improper care, which may cause damage to your vessel over time. Let’s clear the air on some of these common misunderstandings to help you maintain your boat’s gel coat effectively.
Misconception 1: Gel Coat Is Almost Indestructible
Many people think that gel coat is a tough layer that can withstand anything. While it’s designed to be durable, it is not immune to damage. UV rays, saltwater, and physical impacts can wear down the gel coat over time. Without proper maintenance, signs of wear such as fading or cracking can emerge. Regular inspections and protective measures will extend the life of your gel coat.
Misconception 2: All Gel Coat Repairs Are the Same
Another widespread belief is that all gel coat repairs follow a one-size-fits-all approach. In reality, the type, location, and extent of the damage matter significantly. Hairline cracks may require a different repair process compared to larger gouges or chips. Using the right products and methods based on the specific damage will yield better results and maintain the integrity of your boat’s finish.
Misconception 3: Waxing the Gel Coat Is Sufficient for Protection
While waxing is an important part of gel coat maintenance, relying solely on it for protection is a mistake. Wax creates a temporary barrier against UV rays and contaminants, but it wears off quickly, especially in harsh marine environments. To ensure lasting protection, you should also consider applying a polymer sealant, which provides longer-lasting results than wax alone.
Misconception 4: You Can Use Any Cleanser on Gel Coat
Some boat owners assume that all household cleaning products are safe to use on gel coats. However, many common cleaners can be abrasive or contain harsh chemicals that damage the finish. Always opt for cleaners specifically formulated for marine gel coats to avoid damaging the surface. This simple switch can make a significant difference in the longevity and appearance of your boat.
Effective Maintenance Tips
To keep your gel coat looking its best, consider these practical tips:
- Regular Cleaning: Wash your boat frequently with fresh water and a gentle cleanser designed for gel coats.
- Inspect for Damage: Conduct regular inspections to find any scratches, fading, or cracks early on.
- Apply Protective Coatings: Use a polymer sealant for longer-lasting protection against UV rays.
- Avoid Abrasive Materials: Use soft sponges and cloths to avoid scratching the gel coat surface.
Misconception 5: Repairs Will Always Match the Original Gel Coat
When performing gel coat repairs, many boat owners expect the patch to blend seamlessly with the original finish. Even with the most careful application, achieving a perfect match can be challenging due to color fading and variations in the gel coat over time. It’s a good practice to test the repair color on a small, inconspicuous area before moving on to the more noticeable patches. This way, you can adjust accordingly for the best match.
Misconception 6: Professional Help Isn’t Necessary
While some gel coat repairs can be done DIY-style, many boaters believe they can handle extensive damage without professional help. This is risky, especially when dealing with larger cracks or deeper gouges. In these cases, consulting a professional can save you time and money in the long run by ensuring that repairs are conducted correctly, preventing future issues.
Understanding these misconceptions can dramatically improve how you care for your boat’s gel coat. By embracing the right practices and seeking professional guidance when needed, you can ensure your boat remains in excellent condition for many seasons to come.
Conclusion
Repairing hairline cracks in your boat’s gel coat is crucial for both its appearance and longevity. By following the step-by-step guide outlined in this article, you can confidently tackle this task yourself, saving time and money in the process. Remember to gather the necessary materials, such as gel coat repair kits and tools, and follow each step carefully to ensure a smooth finish. With a little patience and attention to detail, your boat can look as good as new once you complete the repairs.
It’s also important to address the common misconceptions surrounding the maintenance and repair of boat gel coat. Many boat owners believe that gel coat is indestructible or that minor cracks don’t need immediate attention. However, neglecting these small issues can lead to bigger problems down the line, including water damage and structural integrity concerns. Understanding the significance of regular maintenance and timely repairs will not only enhance the aesthetics of your boat but also prolong its lifespan.
Taking the time to educate yourself on the proper methods of gel coat repair ensures that you will be well-prepared to maintain your vessel. Proper care and attention can make your boating experience more enjoyable, as you won’t have to worry about unsightly damages hindering your outings on the water. So gather your supplies, embrace the repair process, and keep your boat in top-notch shape for many adventures to come. With the right knowledge, maintaining your boat’s gel coat will become an easy and rewarding task.