Effective Techniques for Repairing Gelcoat Chips on Your Boat
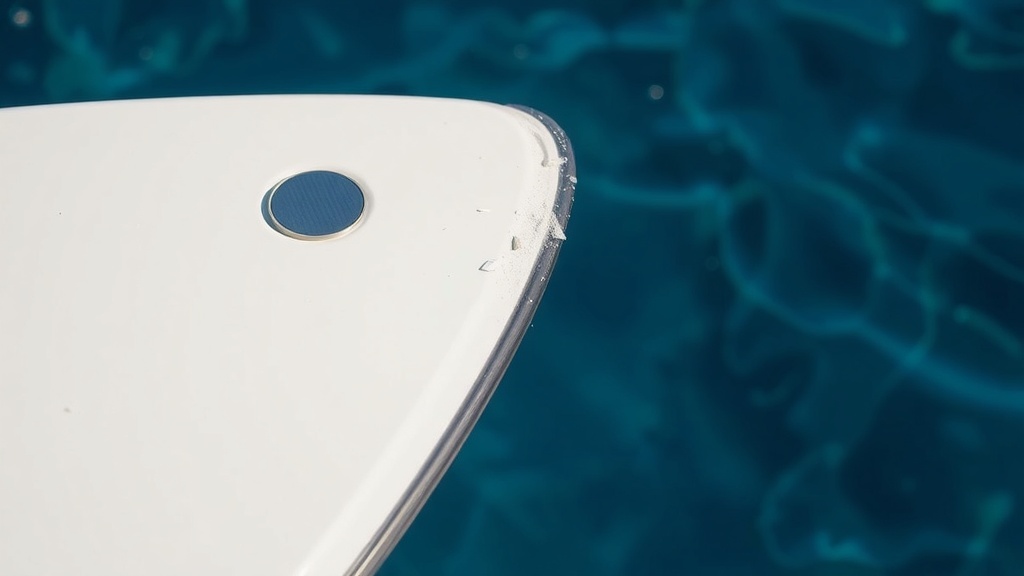
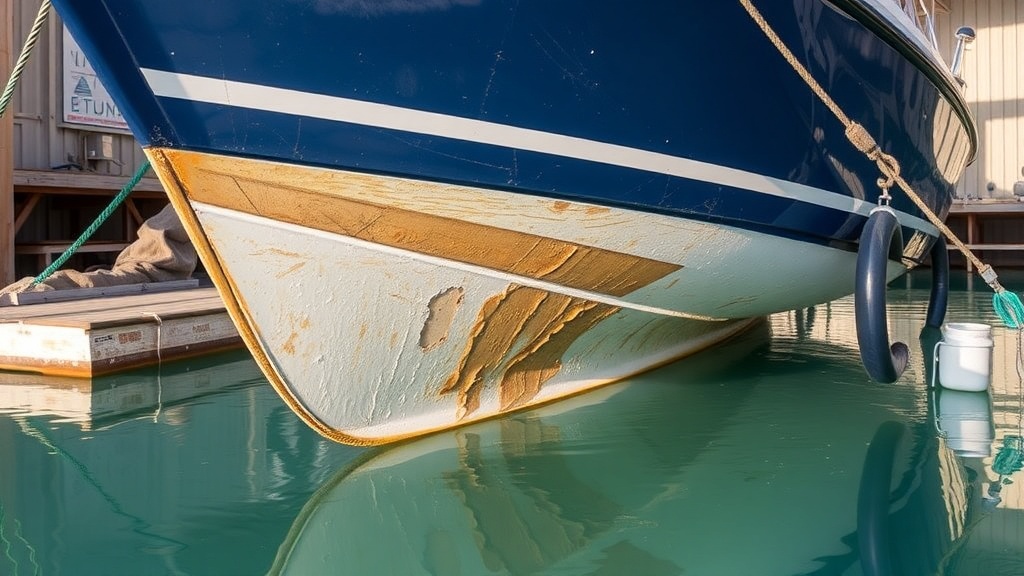
Owning a boat is a joyful experience, but with that comes the need for regular maintenance. One common issue boat owners face is gelcoat chips. These imperfections can arise from various causes, such as small collisions, dock abrasions, or natural wear and tear. Fortunately, fixing gelcoat chips is not as daunting as it may seem. By following effective techniques, you can restore your boat’s appearance and protect it from further damage.
Understanding Gelcoat and Its Importance
Gelcoat is a polyester resin that coats the surface of boats, providing a glossy finish and protection against elements like UV rays and water. When chips occur, they expose the underlying layers, which could lead to further deterioration. Addressing these chips promptly is essential to maintain the integrity of your vessel.
Materials You Will Need
- Gelcoat repair kit (includes gelcoat, hardener, and application tools)
- Clean, dry cloths
- Acetone or a similar solvent
- Masking tape
- Sandpaper (various grits: 120, 220, 400)
- Polishing compound
- Paintbrush or a small mixing tool
Step-by-Step Guide to Repair Gelcoat Chips
Step 1: Clean the Area
The first step in repairing gelcoat chips is to ensure the area is clean and free of dirt, oils, or old coatings. Use a cloth dampened with acetone to wipe down the surface around the chip. This will help the new gelcoat adhere better.
Step 2: Prepare the Chip
Use sandpaper to gently sand the edges of the chip. This step is crucial as it creates a rough surface for the new gelcoat to bond. Be careful not to sand too much; you want to smooth the edges without creating a larger area that needs repair.
Step 3: Mask Off the Area
Apply masking tape around the chip to protect the surrounding gelcoat from any drips or over-spills. This ensures a clean edge and helps you achieve a professional finish.
Step 4: Mix the Gelcoat
Follow the instructions on your gelcoat repair kit to mix the gelcoat with the hardener. Make sure to mix an adequate amount to fill the chip and create a little extra for layering if needed. Blend thoroughly to ensure even consistency.
Step 5: Apply the Gelcoat
Using a small brush or a mixing tool, carefully apply the gelcoat mixture into the chip. Make sure to slightly overfill the chip, as the gelcoat will shrink as it dries. Smooth the surface as much as possible to reduce the amount of sanding needed later.
Step 6: Allow It to Cure
Let the gelcoat cure as per the instructions provided in your repair kit. This may take anywhere from a few hours to a full day, depending on the temperature and humidity levels.
Step 7: Sand the Surface
After the gelcoat has cured, start sanding with 120-grit sandpaper. Gradually move to finer grits like 220 and eventually to 400-grit. Your goal is to level the new gelcoat with the surrounding surface and create a smooth finish. Be gentle to avoid damaging the area around the repair.
Step 8: Polish the Area
Once you are satisfied with the smoothness, clean off any dust and apply a polishing compound. This will bring back the shine to your boat’s surface and help blend the repaired area with the rest of the gelcoat.
Preventive Measures
Taking steps to prevent future gelcoat chips can save you time and effort. Consider the following tips:
- Avoid docking too hard or hitting rough edges when mooring.
- Use fenders to protect your boat from abrasions while at the dock.
- Regularly inspect your boat for any signs of wear, and address them promptly.
By following these effective techniques, you’ll not only extend the life of your boat but also keep it looking its absolute best. Repairing gelcoat chips is a simple and cost-effective way to maintain your vessel’s value and aesthetic appeal. With a little time and effort, you can tackle this task with confidence and skill.
Preventative Measures to Avoid Gelcoat Damage on Boats
Owning a boat is a tremendous joy, but maintaining its appearance and integrity is crucial to preserving its value and performance. One of the most common issues boat owners face is gelcoat damage. This protective layer provides not only a beautiful finish but also shields the underlying materials from corrosion and UV exposure. By taking certain precautions, you can significantly reduce the risk of gelcoat damage and keep your vessel looking pristine. Here are some practical strategies you can employ.
Regular Cleaning
Keeping your boat clean is one of the easiest ways to prevent gelcoat damage. Dirt, salt, and grime can contribute to the erosion of the gelcoat over time. Here are some tips:
- Wash after each use: Rinse your boat with fresh water every time you take it out. This helps remove salt and debris that can cling to the surface.
- Use appropriate cleaners: Choose non-abrasive cleaners specifically designed for marine use to avoid scratching the gelcoat.
- Soft cloths and sponges: Always use soft cloths or sponges when cleaning to prevent scratching the surface.
Avoiding Sun Damage
Exposure to sunlight can deteriorate gelcoat, leading to fading and cracking. Here are some ways to protect your boat from UV rays:
- Keep covered: Whenever your boat is not in use, cover it with a protective tarp or boat cover. This shields the gelcoat from direct sunlight.
- Apply a UV protectant: Use a UV protectant specifically designed for marine surfaces. This can provide an additional layer of defense against harmful rays.
- Dock in shaded areas: If possible, dock your boat in a shaded area during the peak sun hours to minimize exposure.
Proper Handling and Storage
How you handle and store your boat can greatly influence the condition of the gelcoat. Here are some best practices:
- Avoid rough handling: Be gentle when tying and untying your boat to avoid scraping the gelcoat against the dock or other surfaces.
- Lift and store carefully: If you are using a lift, ensure it is padded to prevent any damage during the raising and lowering process.
- Winterize cautiously: During winter storage, be sure to follow the proper steps to protect the gelcoat from harsh conditions.
Care During Maintenance
When performing maintenance tasks, ensure that you take extra care that your gelcoat stays intact. Keeping these pointers in mind will help:
- Avoid using harsh tools: Refrain from using metal tools or brushes that can scratch or wear down the gelcoat unnecessarily.
- Inspect regularly: Regularly check for any wear or thin spots in the gelcoat, and address them promptly to avoid larger issues later.
- Protect while sanding: When sanding other areas of the boat, cover adjacent gelcoat areas to prevent accidental damage.
Routine Inspections
Make it a habit to inspect your boat regularly for signs of wear and tear. Pay special attention to:
- Cracks and Chips: Look for any chips or cracks in the gelcoat that might need immediate attention.
- Fading Colors: Check for signs of fading that might indicate your gelcoat needs attention or a protective treatment.
- Blistering: Watch out for blisters on the gelcoat layer, which could indicate moisture retention or underlying issues.
By implementing these preventative measures, you can protect the gelcoat on your boat and keep it looking stunning even after years of use. Remember, the effort you put into maintaining your boat today will pay off in the long run, keeping its value intact and enhancing your overall boating experience. Protect your investment with these simple yet effective strategies, and enjoy countless adventures on the water.
Conclusion
Repairing gelcoat chips on your boat is a straightforward task that can significantly enhance its appearance and durability. By employing effective techniques like sanding, cleaning, and applying fiberglass filler, you can restore your boat’s surface to its former glory. Utilizing the right tools and materials ensures a seamless repair that blends in with the original gelcoat, protecting your investment for years to come.
However, preventing gelcoat damage in the first place is crucial for maintaining the longevity of your boat. Simple measures such as regular inspections, proper cleaning routines, and the use of protective covers can go a long way in avoiding chips and scratches. Additionally, applying a quality wax or sealant creates a barrier against the elements and reduces wear and tear caused by UV exposure and environmental factors.
By being proactive in your maintenance approach, you not only save time and money on repairs but also enhance your boating experience overall. Keeping your boat’s gelcoat in pristine condition elevates its aesthetic appeal and preserves its resale value. Whether you’re an experienced boater or just starting, understanding both repair techniques and preventative measures will empower you to take excellent care of your vessel. With the right tools, knowledge, and commitment, you can ensure your boat remains a source of joy for many seasons to come.


