Essential Steps for Repairing a Fiberglass Boat Keel
Repairing a fiberglass boat keel can seem daunting, but with the right steps, you can restore your boat to its former glory. Whether you’ve hit a rock or your keel is showing signs of wear, address the issue promptly to prevent further damage. Here’s a guide to help you through the repair process efficiently.
Assess the Damage
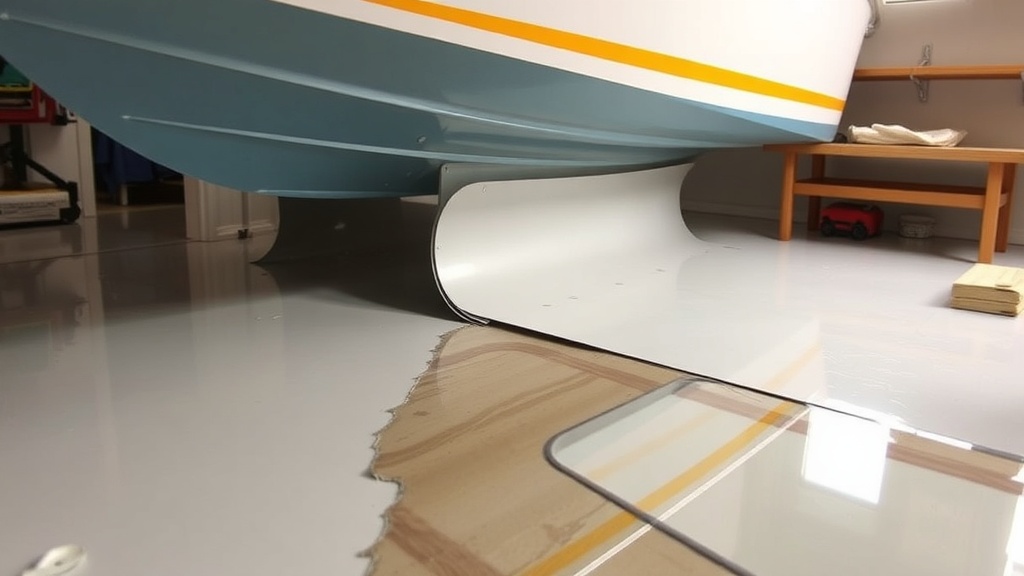
Your first step is to assess the extent of the damage. This will inform you about the materials and tools you’ll need. Look for cracks, chips, or soft spots in the fiberglass. If the damage is minor, you may just need to sand and apply resin. For more extensive problems, you might have to replace sections of the keel or repair structural issues.
Gather Necessary Materials
Before starting, collect everything you will need:
- Fiberglass cloth
- Epoxy resin or polyester resin
- Sanding tools (various grits)
- Acetone or solvent to clean the area
- Protective gloves and goggles
- Rollers or brushes for resin application
- Putty knife or spatula
- Masking tape
Having the right materials on hand will make the repair process smoother and more efficient.
Prepare the Work Area
Make sure you have a clean and safe workspace. If possible, work in a well-ventilated area to avoid fumes from the resin. Remove any old paint or damaged fiberglass around the keel with a sander. Be cautious to only remove the damaged portions without affecting the surrounding area.
Clean the Surface
Once the area is prepared, use acetone or a suitable solvent to clean the surface. This ensures that the resin adheres properly. A clean surface is crucial for a strong bond, so take your time with this step.
Apply Fiberglass Cloth
If the damage is extensive enough that you’ve created a hole or significant crack, apply a layer of fiberglass cloth over the area. Cut your cloth to size, ensuring it overlaps onto the undamaged parts by about an inch. This overlap is important for a stable repair.
Mix and Apply Resin
Follow the instructions on your epoxy or polyester resin to mix it properly. Use a clean container and stir thoroughly. Once mixed, quickly apply the resin over the fiberglass cloth using rollers or brushes. Ensure that the cloth is saturated but not overly drenched. Use your putty knife to smooth out any bubbles or wrinkles, securing the cloth in place.
Layering and Curing
In some cases, one layer may not be enough, especially for structural repairs. Allow each layer of resin to cure for the recommended time before applying the next. Typically, you’d want to add at least two to three layers of fiberglass cloth for durability.
Sand and Finish
After the resin has fully cured, it’s time to sand the surface. Use a medium grit sandpaper to level out any uneven spots and smooth the surface. Gradually switch to finer grits for a polished finish. This process helps the repair blend in with the rest of the keel.
Painting and Sealing
Once you are satisfied with the sanding, you can apply gel coat or paint to match the rest of your boat. Not only does this enhance aesthetics, but it also provides additional protection against the elements. Ensure that the paint is compatible with fiberglass and apply according to the manufacturer’s instructions.
Final Inspection
Before putting your boat back in the water, conduct a final inspection. Check the repaired area thoroughly for any imperfections or weaknesses. Ensure everything is sealed properly, as this will prevent water from further damaging the keel.
Regular Maintenance
Once your keel is repaired, commit to regular maintenance. Inspect your boat periodically for any signs of new damage. Keeping your keel in good shape will ensure a safer and more enjoyable boating experience.
With these essential steps, you can successfully repair your fiberglass boat keel. Remember to take your time and ensure each step is completed thoroughly for the best results.
Tools and Materials Needed for a Successful Keel Repair
When it comes to repairing a fiberglass boat keel, having the right tools and materials is crucial for a successful outcome. In this guide, we will explore everything you need to get started on your repair journey, ensuring you are well-equipped for the task.
First, let’s start with the essential tools. These tools will help you prepare the surface, apply materials, and ensure a strong bond throughout the repair process.
- Sander: A power sander or hand sander will help smooth out the damaged area. It’s important to create a clean surface for the repair materials to adhere to, so investing time in this step is vital.
- Grinder: For deeper damage, a grinder can remove more severe imperfections and prepare the fiberglass surface effectively.
- Safety Gear: Always prioritize safety. Wear gloves, goggles, and a mask to protect yourself from dust and fumes when sanding or grinding.
- Putty Knife: A flexible putty knife is necessary for applying and smoothing the filler material. It helps you achieve a smooth finish and ensures that the patch is flush with the surrounding surface.
- Paint Roller or Brush: You may require these for applying gelcoat or paint. Use these tools for an even and professional-looking finish.
- Measuring Tools: Accurate measurements are key. Use a tape measure and a square to ensure your repairs are symmetrical and properly aligned.
With the tools ready, the next step is gathering the appropriate materials needed for the repair. Choosing high-quality materials will enhance durability and help prevent further damage down the line.
- Fiberglass Cloth: This is essential for reinforcing your repair. You’ll need fiberglass cloth that suits the size of the damage. The thicker the cloth, the stronger the repair will be.
- Resin: Epoxy or polyester resin is crucial for bonding the fiberglass. Make sure to choose one compatible with the cloth. Epoxy is often preferred for its strength and resistance to water.
- Hardener: Most resins require a hardener. Follow the manufacturer’s instructions carefully to mix the correct ratios for optimal curing.
- Gelcoat: After the repair, you’ll want to finish it with gelcoat, especially if the keel was originally coated. Gelcoat provides a smooth finish and UV protection.
- Filler: For filling small imperfections or dents, a good-quality epoxy filler can smooth out the area before applying the fiberglass cloth.
- Acetone: Use this for cleaning tools and the work area. It helps remove any excess resin or sticky materials after repairs.
Next, let’s focus on some additional items that can improve your workflow and efficiency during the repair process. Although not strictly necessary, they can make a big difference.
- Heat Gun: Helpful for speeding up the curing process of certain resins. Be cautious not to overheat, as it can negatively affect the resin’s properties.
- Level: Helps ensure your keel repair is even, which is crucial for the boat’s performance and stability on the water.
- Paint Masking Tape: Use this to create clean lines when applying gelcoat and to protect areas you do not wish to coat.
Before diving into the repair, organize all your tools and materials. Setting up a dedicated workspace where everything is within reach will streamline the process. Having a good plan in place will not only save time but also reduce the chances of overlooking something important.
Once everything is prepped, you can begin your keel repair with confidence, knowing you have the necessary tools and materials. Remember to follow safety precautions throughout the repair and ensure that your boat is secure before starting work. With the right approach, you’ll have your fiberglass boat keel looking as good as new, ready for your next adventure on the water!
Conclusion
Repairing a fiberglass boat keel can seem daunting, but by following the essential steps and using the right tools and materials, you can achieve a successful and lasting repair. Start by thoroughly cleaning and assessing the damage to ensure you understand the extent of the repairs needed. Properly preparing the surface is crucial, as it promotes better adhesion for the epoxy and fiberglass materials you will use.
Having the right tools on hand, such as sanders, brushes, and measuring equipment, significantly simplifies the repair process. Quality materials, including marine-grade resins and fiberglass cloth, guarantee the integrity of your repair. Selecting products designed for marine use ensures that your repairs can withstand the harsh conditions of the water.
Once you’ve completed the repairs, proper finishing is essential. Sanding and polishing your newly repaired keel not only improves aesthetics but also helps in maintaining the boat’s performance. Remember to regularly inspect your repair to catch any signs of wear and tear early on, keeping your vessel in optimal condition.
Taking on a fiberglass boat keel repair makes you a more competent and confident boat owner. It’s not just about repair; it’s about understanding your vessel better and enhancing your maintenance skills. With the knowledge you’ve gained from this guide, you’re well-equipped to tackle this project. Your boat deserves the best care, and mastering the repair process will contribute to many enjoyable voyages ahead. Happy sailing!