Step-by-Step Guide on How to Repair Boat Floor Fiberglass
Repairing a boat floor made of fiberglass can seem like a daunting task. However, with the right tools, materials, and step-by-step guidance, you can restore your boat floor to its former glory. This guide will walk you through the entire process so that you feel confident in repairing your fiberglass floor.
Gather Your Supplies
Before you start the repair, you need to gather the necessary materials. Here is a list of what you’ll need:
- Fiberglass repair kit
- Sandpaper (various grits)
- Masking tape
- Acetone or a similar solvent
- Putty knife
- Cloth or rags
- Paintbrush or roller
- Safety goggles and gloves
Prepare the Area
The first step in the repair process is to prepare the area. Follow these steps:
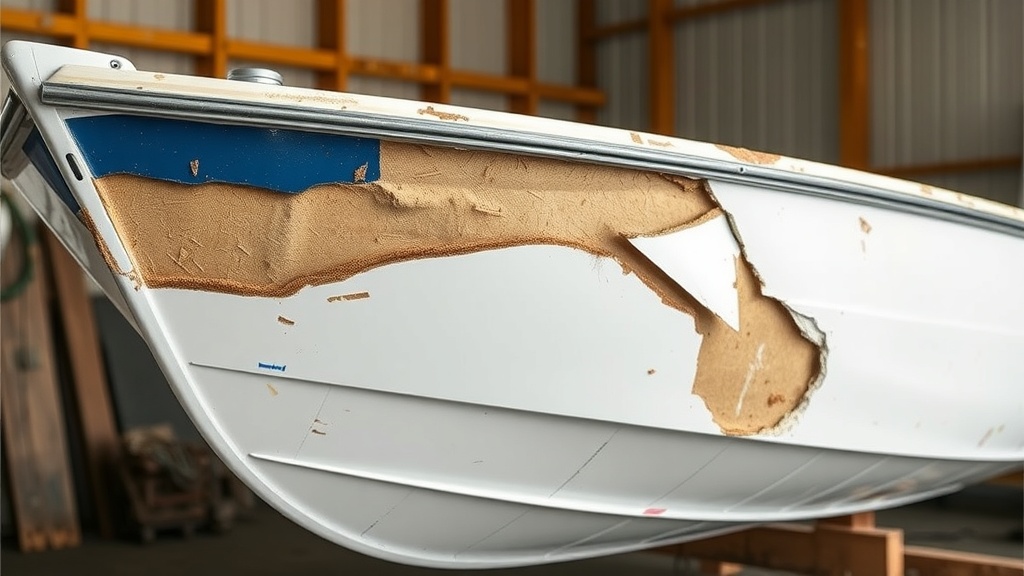
- Inspect the Damage: Identify the extent of the damage on the fiberglass floor. Look for cracks, soft spots, and any areas that seem compromised.
- Clean the Surface: Using acetone, clean the damaged area thoroughly. This removes any grease, dirt, or old sealant that might prevent the new fiberglass from adhering.
- Mask Off Surrounding Areas: Use masking tape to cover areas around the damage. This will protect them from dust and debris during the repair.
Sand the Damaged Area
Sanding is crucial for achieving a smooth surface for the repair. Follow these guidelines:
- Use coarse sandpaper to remove any loose or damaged fiberglass.
- Smooth the edges of the repair area with finer sandpaper to ensure a seamless bond.
- Clean the dust off the area with a cloth to prepare for the repair materials.
Apply the Fiberglass Repair Material
Now you’re ready to apply the fiberglass. Here’s how you can do it:
- Mix the Resin: Following the manufacturer’s instructions, mix your resin and hardener in a suitable container. Make sure to wear gloves and goggles to protect yourself.
- Cut the Fiberglass Cloth: Trim the fiberglass cloth to fit over the damaged area, allowing a little extra for overlap.
- Apply the Resin: Use a paintbrush or roller to apply a layer of resin to the prepared area. Then, place the fiberglass cloth over the resin.
- Coat Again: Apply another layer of resin over the fiberglass cloth, ensuring it is saturated. Smooth it out to remove bubbles.
Let it Cure
Once you’ve applied the fiberglass, it needs time to cure. Follow these steps:
- Check the manufacturer’s instructions for curing time. It usually takes several hours to cure properly.
- Ensure the area is ventilated and avoid direct sunlight to prevent overheating.
Final Sanding and Finishing Touches
After the fiberglass has cured, it’s time to finish your repair:
- Begin with coarse sandpaper to smooth out any rough edges or bumps and finish with a finer grit for a polished look.
- Clean the area again to remove sand dust.
- If desired, apply a topcoat or paint that matches your boat’s color for a seamless look.
Safety Precautions
Throughout the repair process, always prioritize safety. Here are some tips:
- Wear safety goggles and gloves to protect against resin and dust.
- Work in a well-ventilated area to avoid inhaling fumes from the resin.
- Follow the manufacturer’s safety guidelines provided in your repair kit.
By following these simple steps, you can successfully repair your boat floor made of fiberglass. Whether you’re battling minor cracks or larger damage, the process is manageable with a bit of effort and attention to detail. Happy boating!
Common Mistakes to Avoid When Repairing Boat Floor Fiberglass
Repairing a boat floor made of fiberglass can be a fulfilling project, but it’s also easy to make mistakes along the way. Avoiding common missteps ensures that your repair work not only meets your expectations but also enhances the longevity and safety of your boat. Here are some mistakes to steer clear of during your fiberglass repair process.
Using the Wrong Materials
One of the most significant errors is selecting inappropriate materials for your fiberglass repair. Not all fiberglass resins are created equal; using the wrong type can lead to flaws in the repair. Always choose a resin that is compatible with the existing fiberglass.
Tip:
Use marine-grade resins specifically designed for boat repairs. These are formulated to withstand moisture and extreme conditions, ensuring a durable repair.
Skipping Surface Preparation
Many people underestimate the importance of thorough surface preparation. If the area you want to repair is not clean and smooth, the new fiberglass won’t adhere properly. Dirt, grease, or any debris will create barriers between layers, which could compromise the repair’s integrity.
Important Steps:
- Wash the area with soap and water to remove any contaminants.
- Sanding the surface will help create a better bond for the resin.
- Wipe the area down with acetone to remove dust and oils after sanding.
Neglecting Safety Precautions
Safety should always be a priority during boat repairs. Fiberglass and resin can be hazardous if proper precautions aren’t taken. Fumes from resins can be toxic, and dust from sanding can irritate your lungs and skin.
Essential Safety Gear:
- Respirator mask to protect against fumes.
- Safety goggles to shield your eyes.
- Protective clothing, including gloves and long sleeves.
Ignoring Temperature and Humidity
The environment in which you repair your boat floor can greatly affect the curing process of the fiberglass. Applying resin in too cold or humid conditions can result in a weaker bond, leading to future repairs.
Best Practices:
Check the weather before starting your repair. Ideal conditions are typically warm, dry days. If it’s too humid or cool, consider waiting for better weather or using heating lamps to create a suitable environment.
Rushing the Process
Patience is key when working with fiberglass. Many novice repairers attempt to hasten the process, applying layers too quickly or skipping necessary curing times. This rush can lead to incomplete repairs and additional problems down the line.
Take Your Time:
Let each layer cure completely before applying the next one. Follow the manufacturer’s recommended curing times to ensure the best results.
Overlooking Reinforcement
When repairing a boat floor, simply filling in cracks without reinforcement can lead to structural issues later. Fiberglass is only as strong as the layers it consists of, and reinforcing vulnerable areas is crucial.
Ways to Reinforce:
- Use fiberglass cloth for additional strength in high-stress areas.
- Consider adding layers of mat between the resin applications for improved durability.
Failing to Document the Repair
Many do-it-yourselfers forget to document the repair process. Keeping track of materials used and the steps taken allows you to provide details if future problems arise.
Documentation Tips:
Take photos of each stage and label materials used. This not only helps you recall your methods in the future but can also serve as a reference if needed.
By avoiding these common mistakes, your fiberglass repairs will be more effective and long-lasting. This ensures that your boat’s floor remains safe and ready for many adventures ahead.
Conclusion
Repairing your boat floor fiberglass can seem daunting, but with the right approach, you can achieve great results. By following the step-by-step guide provided, you’ll be empowered to tackle this project confidently. Remember that preparation is key; make sure your workspace is clean, and gather all necessary materials before beginning. Each step, from cleaning and sanding the damaged area to applying the fiberglass cloth and resin, plays a crucial role in the repair process.
As you move forward, being aware of common mistakes can save you time and frustration. Failing to properly clean the area, rushing through the curing times, or not using enough resin can result in subpar results. Take your time, be thorough in your preparation, and double-check your work at each phase. If you find yourself feeling unsure, don’t hesitate to reach out to professionals for advice or assistance.
Ultimately, investing effort in repairing your boat floor fiberglass not only enhances the lifespan of your vessel but also ensures a safe and enjoyable experience on the water. Regular maintenance and prompt repairs will keep your boat in top condition, ready for countless adventures. With every repair project you complete, your skills will grow, and your confidence will soar, making you more adept at taking care of your prized possession. Embrace the challenge, and enjoy the satisfaction of a job well done.