Effective Techniques for Repairing Inflatable Boat Seams
Inflatable boats are fantastic for their portability and ease of use. However, like all watercraft, they can suffer from wear and tear. One common issue boat owners face is damaged seams. Knowing how to repair an inflatable boat seam can save you time and money. Here’s a straightforward guide to help you fix those seams effectively.
Identify the Problem
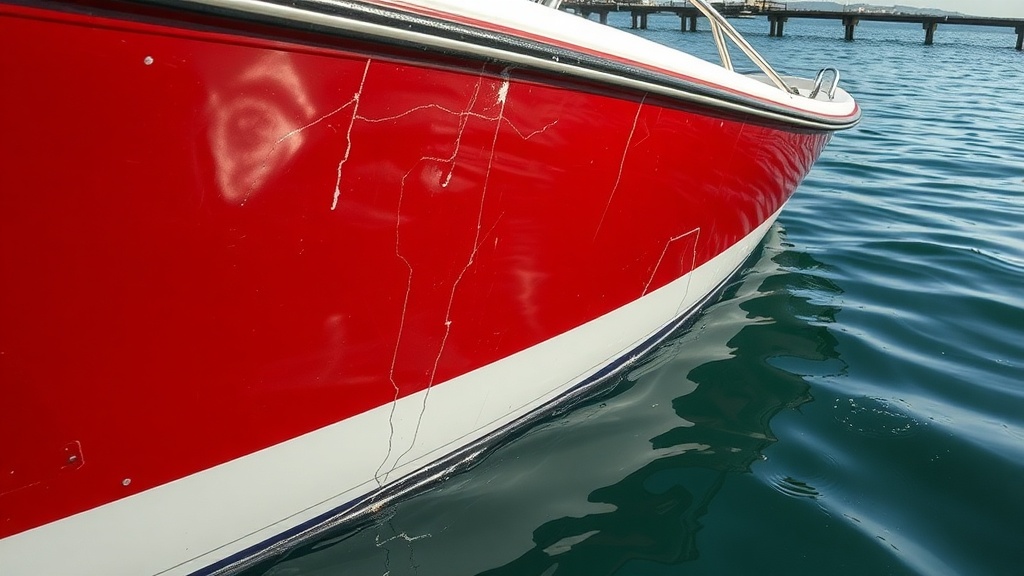
Before diving into repairs, you first need to pinpoint the issue. Look for visible signs of damage including:
- Leaks or air loss while the boat is inflated
- Peeling or lifting seams
- Cracks in the material near the seams
- Discoloration or fading of the fabric
Once you identify the problem area, you can proceed with the correct repair method.
Gather Your Tools
Having the right tools is essential for a successful seam repair. Here’s what you’ll need:
- Marine-grade adhesive
- Heavy-duty patch kit
- Cleaning solvent (such as acetone)
- Sanding block or paper
- Soft cloth
- Scissors or a utility knife
Make sure all materials are specifically designed for use with inflatable boats to ensure a durable repair.
Clean the Area
Before applying any adhesive, clean the damaged area thoroughly. Use a cloth soaked in your cleaning solvent to remove dirt and oils. This step is crucial because any debris can affect the adhesion of your repair materials. Once cleaned, let the area dry completely.
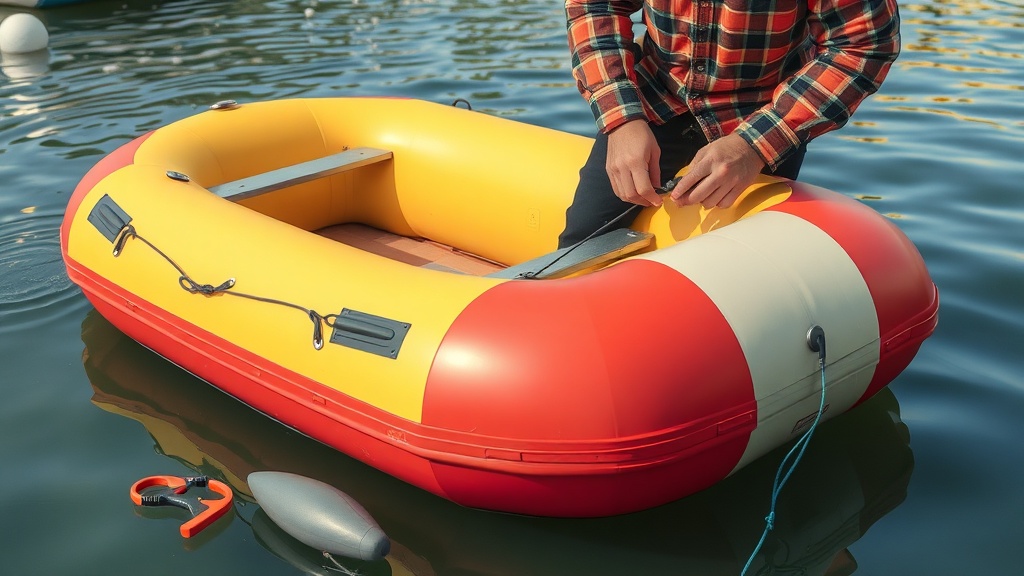
Prepare the Patch
If the seam is torn, you’ll want to patch it for a stronger hold. Follow these steps to prepare the patch:
- Cut a patch from the heavy-duty material that is at least 2 inches larger than the damaged area.
- Round the edges of the patch to prevent lifting.
- If using fabric, ensure it matches the thickness of your boat material for better adhesion.
Applying the Adhesive
Apply marine-grade adhesive to both the cleaned seam and the back of the patch. Follow the manufacturer’s instructions for the best results. It’s best to use a thin layer to prevent excess adhesive from seeping through the seam.
Attach the Patch
Carefully place the patch over the damaged area. Ensure it is aligned properly and press it down firmly. You can use a roller or a flat tool to eliminate any air bubbles which might weaken the bond.
Let It Cure
Allow the adhesive to cure for the recommended amount of time (usually several hours to a full day). This is essential for a strong seal. Keep the area flat and avoid any movement on the seam during this period.
Reinforce the Repair
For added durability, you may choose to apply an additional layer of adhesive around the edges of the patch once the initial layer has cured. This creates an extra barrier against water and increases the strength of your repair.
Test Your Repair
Once everything is dry, it’s time to test your repair. Inflate your boat fully and check for any air leaks. If there’s no air loss, congratulations! Your inflatable boat seam is now successfully repaired. However, if you notice any leaks, repeat the repair steps as necessary.
Maintain Regular Checks
To extend the life of your inflatable boat, perform regular checks. Inspect the seams and hull for any signs of wear. Additionally, store your boat in a cool, dry place when not in use to prevent any unnecessary damage from UV rays or fluctuating temperatures.
Repairing seams on an inflatable boat may seem daunting, but with proper preparation and attention to detail, it can be a manageable task. Follow these steps, and you’ll be back on the water in no time!
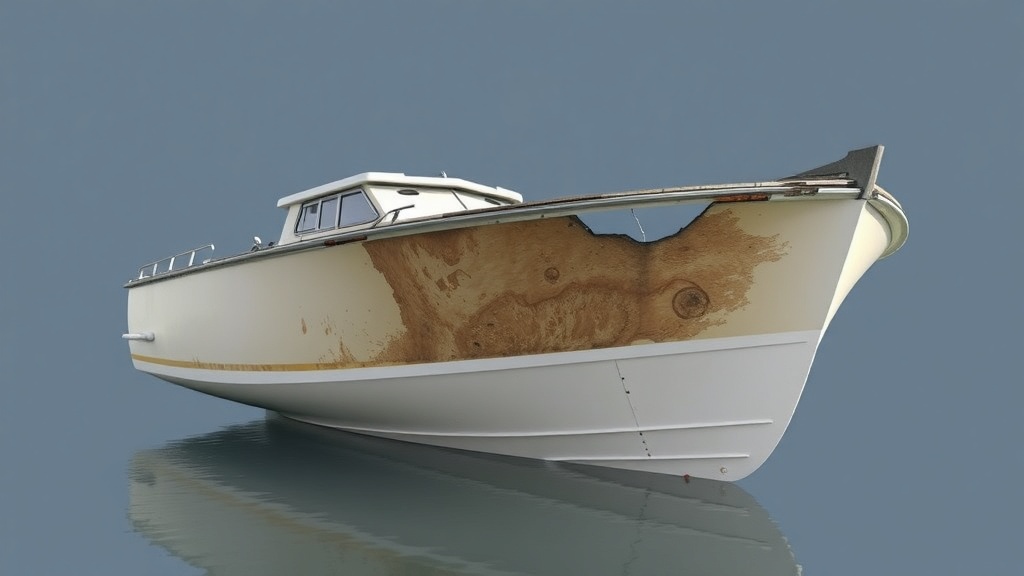
Common Causes of Seam Damage in Inflatable Boats and How to Prevent Them
Inflatable boats are a great way to enjoy waterways, but they are not immune to wear and tear. One of the most common issues faced by inflatable boat owners is seam damage. Understanding the common causes of this damage and taking proactive measures can extend the life of your boat and ensure safety on the water.
Seam damage can occur for several reasons, and recognizing these can help you prevent major issues. Here are some key factors that contribute to seam damage:
- Improper Storage: Failing to store your inflatable boat correctly can lead to unnecessary wear on the seams. Harsh temperatures, direct sunlight, and damp conditions can weaken the material, resulting in separations in the seams.
- Rough Handling: Inflating and deflating your boat too aggressively can put stress on the seams. Additionally, dragging the boat across rough surfaces can cause abrasions and tears.
- Aging Materials: Over time, the materials used in inflatable boats can degrade. Extended exposure to UV rays and harsh waters can weaken the seams and the entire structure.
- Improper Repair Techniques: If repairs are made incorrectly, they can worsen seam issues. Using the wrong adhesives or techniques can lead to future complications.
- Environmental Factors: Sharp objects, rocks, and other debris can puncture the seams leading to leaks and tears. Additionally, exposure to chemicals like fuel or solvents can damage the material.
Now that you know the common causes of seam damage, it’s vital to implement preventative measures to protect your inflatable boat. Here are some effective strategies:
- Store Properly: Always deflate and store your inflatable boat in a cool, dry place away from direct sunlight. Using a cover can also protect it from UV rays and other environmental stressors.
- Handle with Care: When inflating, do so gently and avoid over-inflating. Always lift the boat rather than dragging it to prevent damage to the seams.
- Conduct Regular Inspections: Periodically check your boat for any signs of wear or damage. Look closely at the seams and take note of any changes. Early detection can save you time and money by addressing smaller issues before they escalate.
- Use the Right Repair Techniques: When repairing seams, make sure to use high-quality materials specifically designed for inflatable boats. Follow manufacturer guidelines strictly to ensure strong repairs.
- Avoid Chemicals: Be cautious with any substances that might come in contact with your boat. Always clean your vessel with non-abrasive, mild cleaners to prevent any damage caused by harsh chemicals.
By understanding what causes seam damage and applying preventative practices, you can significantly reduce the risk of problems with your inflatable boat. Consistent care and attention to detail will help maintain the integrity of the seams and ensure enjoyable experiences on the water.
In case you do notice seam damage, it’s crucial to tackle repairs promptly. For small tears or leaks, patching kits designed for inflatable boats are readily available and easy to use. If the damage is extensive, consider consulting a professional to ensure the repair is done correctly. Remember, taking care of your boat is not just about repairing the seams but also about preserving your investment in the long term.
Ultimately, awareness and proactive maintenance are key. By keeping your inflatable boat in good condition, you can prevent seam damage and enjoy many adventures out on the water, worry-free.
Conclusion
When it comes to maintaining the integrity of your inflatable boat, understanding how to repair an inflatable boat seam is crucial. By employing effective techniques like using the right adhesives and patch materials, you can restore the seams to their original strength. It’s essential to follow the manufacturer’s instructions carefully and allow ample drying time for the best results.
Moreover, being aware of the common causes of seam damage can help you take proactive steps to prevent issues before they arise. Factors such as exposure to UV rays, improper storage, and frequent impacts during use can weaken seams over time. By implementing protective measures—like using a cover when not in use and carefully avoiding sharp objects—you can extend the life of your inflatable boat significantly.
Regularly inspecting the seams for any signs of wear or tears allows you to address minor issues before they escalate into significant problems. Remember that early detection and timely repairs are key to maintaining your boat’s performance and safety.
With these strategies in hand, you can confidently tackle seam repairs and enjoy many stress-free days on the water. Whether you’re a novice boater or a seasoned sailor, understanding how to repair an inflatable boat seam and prevent future damage will ensure that your investments remain in top shape, providing you with countless adventures and memories for years to come.