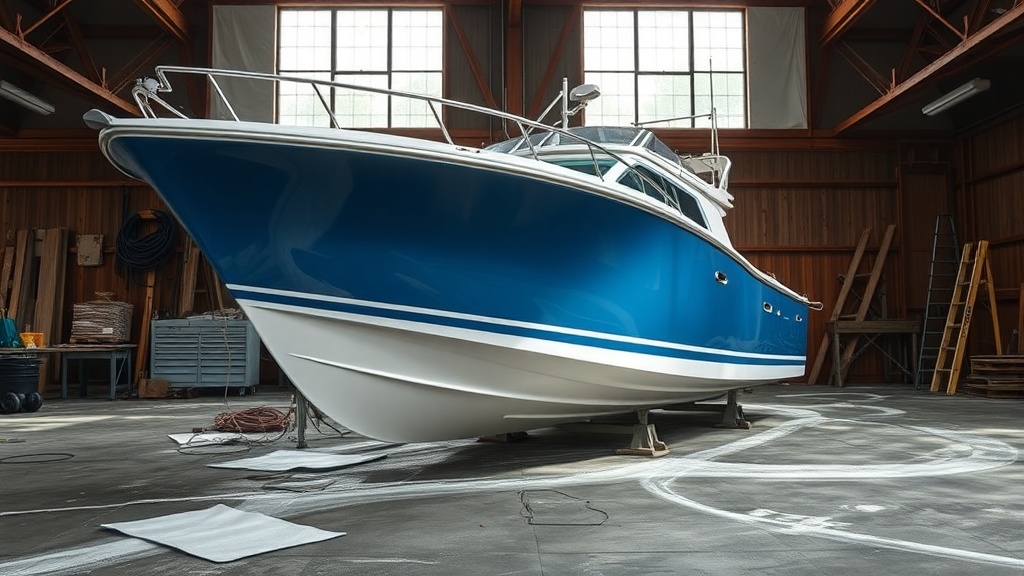
Step-by-step Guide on How to Fiberglass Repair a Boat
When your boat gets damaged, it can feel overwhelming. However, learning how to fiberglass repair a boat is a skill that can save you time and money. With the right materials and a step-by-step approach, you’ll have your vessel back in the water in no time.
Before diving into the repair process, gather the following materials:
- Fiberglass cloth
- Epoxy or polyester resin
- Acetone or rubbing alcohol
- Sandpaper (various grits)
- Paintbrush or roller
- Putty knife or spreader
- Protective gear (gloves, mask, goggles)
- Measuring cups and mixing sticks
Once you have your supplies, follow these steps for a successful fiberglass repair:
1. Assess the Damage
Start by examining the area that needs repair. Look for cracks, chips, or holes in the fiberglass. If water is leaking through, this needs to be addressed right away to prevent further damage. Identify how deep the damage goes, as this will determine how much material you’ll need to remove.
2. Prepare the Area
Clean the damaged area thoroughly with soap and water, followed by a wipe down using acetone or rubbing alcohol. This will remove dirt and grease, ensuring proper adhesion of the fiberglass. Allow the area to dry completely.
3. Sand the Surface
Using sandpaper, gently sand around the damaged area. This step is crucial, as it helps the new fiberglass bond with the existing material. Start with a coarse grit to remove any loose material, then switch to a finer grit for a smoother finish. Feather the edges of the repair area to avoid sharp transitions.
4. Cut the Fiberglass Cloth
Next, cut your fiberglass cloth into appropriate sizes. You’ll want to create patches that extend a little beyond the damaged area. Multiple layers may be needed for larger repairs, so be prepared to cut several pieces to ensure the repair is strong.
5. Mix the Resin
Follow the manufacturer’s instructions to mix your epoxy or polyester resin. Use measuring cups and sticks to get the proportions right. Be aware that certain resins have a pot life, meaning you’ll need to work quickly once combined. It’s best to start with a small batch to avoid waste.
6. Apply the First Layer
Using a paintbrush or a roller, apply a thin layer of mixed resin over the prepared area. This resin acts as a bonding agent, allowing the fiberglass cloth to adhere properly. Make sure the layer is even and covers the entire area.
7. Place the Fiberglass Cloth
Lay your first piece of fiberglass cloth over the resin-coated area. Use a putty knife or spreader to gently press it down, ensuring there are no air bubbles trapped underneath. Once it’s in place, apply another layer of resin on top of the cloth, making sure it’s fully saturated. Repeat this process with additional layers of cloth and resin as necessary, allowing each layer to cure before applying the next.
8. Sand Again
After the final layer has cured according to the product instructions, it’s time to sand the repair. Start with coarse sandpaper and move to finer grits, ensuring the surface is smooth and level with the rest of the boat. Be careful not to sand too deep, as you don’t want to expose the layers below.
9. Clean and Finish
Once you’re satisfied with the sanding, clean the area again with acetone. If desired, you can paint over the repair to match the rest of the boat. This can protect the repair and enhance the appearance of your vessel.
By following these steps, you can successfully fiberglass repair your boat and bring back its functionality. Remember to always wear protective gear, as working with fiberglass and resin can be hazardous to your health. With some practice, you’ll become more confident in your repair skills, ensuring your boat is always ready for your next adventure.
Common Mistakes to Avoid When Performing Fiberglass Repairs on Boats
When you decide to tackle fiberglass repairs on your boat, you’ll want to ensure the job is done right. This task requires attention to detail and the avoidance of common blunders that can lead to further damage or inefficient repairs. Understanding these mistakes can save you time, effort, and money in the long run.
Neglecting Proper Surface Preparation
One of the biggest mistakes is overlooking proper surface preparation. Before applying any fiberglass resin or matting, clean the area thoroughly to remove any dirt, grease, or old paint. Failure to do this will result in poor adhesion, and your repair might fail prematurely. Use sandpaper to roughen the surface, creating a key for the new material to grip onto.
Skipping the Right Materials
Choosing the wrong materials can be detrimental to your repair efforts. It’s essential to use high-quality fiberglass cloth and resin designed for marine applications. Not all fiberglass is created equal; make sure to check if the resin is suitable for the specific environment of your boat. For example, use epoxy resin instead of polyester for better moisture resistance.
Inaccurate Measurements and Cuttings
When working with fiberglass, accuracy is paramount. Mistakes in measurement often lead to materials that do not fit properly. Cut your fiberglass cloth or mat carefully, ensuring it overlaps correctly in the repair area. If you’re unsure, it’s always better to cut a little larger, as you can always trim excess later. Make use of tools such as straight edges and templates to achieve precision.
Ignoring Cure Times
Another frequent oversight is not paying attention to cure times. Each type of epoxy or resin has its specific set of instructions regarding working time and cure time. Skipping this step can lead to uneven hardening, resulting in a weak repair. Always plan your work according to the manufacturer’s recommendations and allow ample time for the repair to cure fully before sanding or painting over it.
Using Excessive Resin
It may be tempting to apply more resin than necessary in hopes of strengthening the repair. However, using an excessive amount can actually lead to complications, such as trapping air bubbles or making the area too heavy. Apply just enough resin to saturate the cloth without drenching it. This will give you a stronger, lighter repair, and maintain the integrity of the boat’s structure.
Neglecting Safety Precautions
Forget to wear safety gear? That’s a slip-up you absolutely shouldn’t make. When working with fiberglass resins and other chemicals, proper ventilation, gloves, and a mask are essential to protect yourself from harmful fumes and particles. Make sure you’ve got your safety equipment on hand before you start the job.
Not Sanding Between Layers
If you’re doing multiple layers of fiberglass, some folks skip sanding in between. Each layer needs to bond to the one beneath it properly. Sanding helps the layers stick together better, creating a stronger repair. Use a fine-grit sandpaper to scuff up the top of each layer before applying the next one; it ensures a solid connection.
Failing to Finish Properly
A common mistake is neglecting the finishing touches. After the fiberglass repair has cured, make sure to sand it down to a smooth finish and paint or gel coat the area as needed. This not only improves the appearance but also protects the repair from UV damage and moisture penetration. Be sure to feather the edges of your repair to help it blend seamlessly with the surrounding area.
Ignoring the Weather Conditions
Don’t underestimate the impact of weather on your repair work. High humidity or extremely cold temperatures can affect the curing process of your resin, slowing it down or leading to imperfect results. Check the weather forecast and try to perform your fiberglass repair when environmental conditions are optimal, preferably in a well-ventilated, controlled setting.
By avoiding these common mistakes, you’ll be well on your way to successfully repairing your boat with fiberglass. Taking these precautions not only improves the quality of your repair but also enhances the longevity of your vessel, ensuring many more years of enjoyable boating ahead.
Conclusion
Fiberglass repair on a boat is a manageable task if approached with the right tools, materials, and knowledge. Following the step-by-step guide we outlined, you can effectively restore your vessel’s integrity and appearance. Remember, preparation is crucial; ensuring a clean, dry surface will set the foundation for a successful repair. With patience and the right techniques, you can achieve a finish that stands the test of time.
While performing fiberglass repairs, it’s equally important to be aware of common pitfalls. Avoid rushing the process, neglecting safety precautions, and skipping essential steps in mixing and applying resin. Taking the time to do it right will save you from further issues down the line, such as weak spots or unsightly finishes that might require even more extensive repairs.
By embracing these strategies and understanding the nuances of fiberglass repair, you empower yourself to maintain your boat effectively. Not only does this enhance your vessel’s lifespan, but it also provides you with a sense of accomplishment. Investing the effort now means fewer headaches later, allowing you to enjoy your time on the water.
So, gather your materials, follow the guidelines, and remember the common mistakes to steer clear of. With practice, every repair will become easier, and before you know it, you’ll be well on your way to becoming proficient in fiberglass repair. Get ready to set sail with confidence, knowing you’ve mastered the art of maintaining your boat!