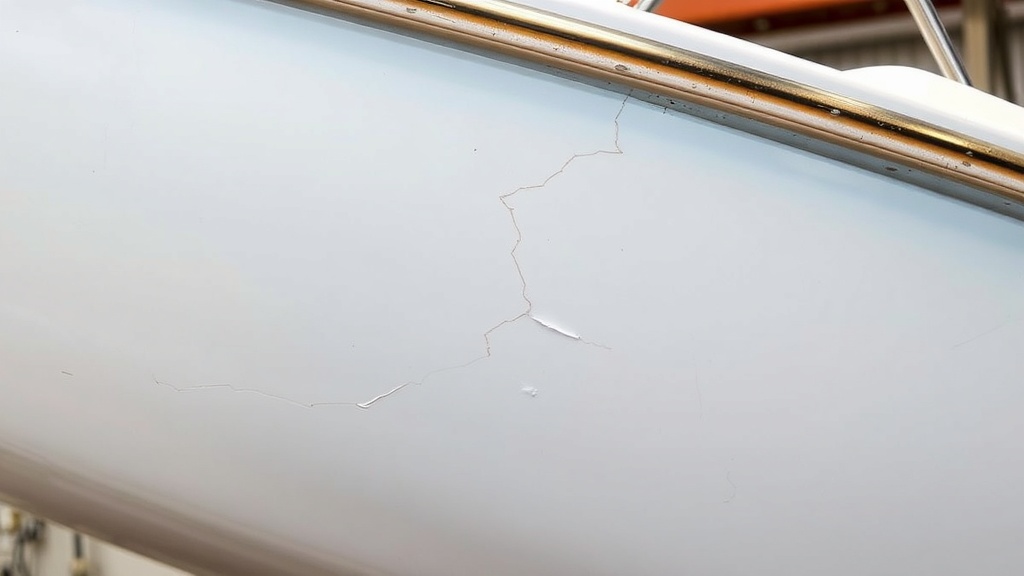
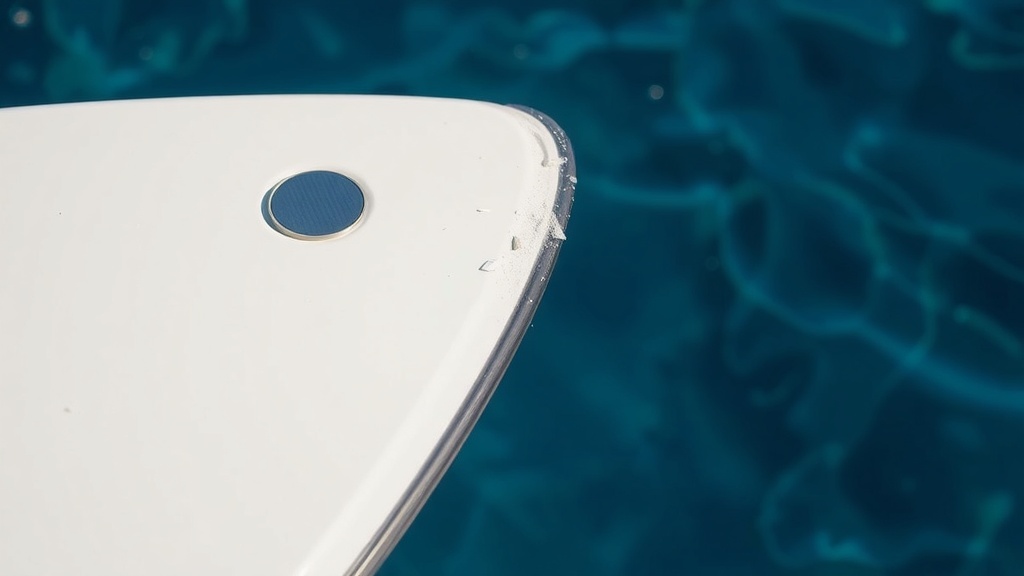
Step-by-Step Guide on How to Repair Chips in Fiberglass Boat Hull
Repairing chips in your fiberglass boat hull may seem daunting, but with the right tools and techniques, you can do it yourself. It’s important to address these chips to prevent further damage and ensure your boat remains seaworthy. Follow these steps to effectively repair chips in your fiberglass boat hull.
Gather Your Materials
Before starting your repair, collect everything you need. Here’s a list of the essential materials:
- Fiberglass repair kit (includes resin and hardener)
- Sandpaper (80, 120, and 220 grit)
- Acetone or rubbing alcohol
- Putty knife or applicator
- Cloth or old rag
- Masking tape
- Paint (to match the hull color)
- Paintbrush or roller
Prepare the Area for Repair
To achieve a successful repair, preparing the area is crucial. Follow these steps:
- Clean the damaged area: Use water and soap to clean the chips thoroughly. Remove any dirt, grime, and debris.
- Dry the area: After cleaning, use a cloth to dry everything completely.
- Mask off the area: Use masking tape to outline the chip. This keeps your repair neat and prevents the resin from spreading.
- Sand the damaged area: Use 80 grit sandpaper to sand the area around the chip. Sand in a circular motion to create a rough texture that helps the resin adhere.
Mix the Fiberglass Resin
Carefully follow the instructions provided in your fiberglass repair kit to mix the resin and hardener. It’s vital to mix the components thoroughly. If not mixed properly, the repair may not cure correctly.
Apply the Fiberglass Repair
Once your resin mixture is ready, you can begin the application process:
- Use your putty knife or applicator to apply the mixed resin into the chip. Ensure that you fill it completely.
- Spread the resin slightly beyond the edges of the chip for a smoother transition.
- If your kit includes fiberglass cloth, cut a piece slightly larger than the chip, lay it over the resin, and apply more resin on top. This reinforces the repair.
Allow the Repair to Cure
After applying the resin and cloth (if needed), let it cure as specified in the instructions. This usually takes several hours but may vary, so check your kit for exact times. Ensure the area is undisturbed during this period.
Sanding and Finishing Touches
Once fully cured, it’s time to make your repair seamless with these steps:
- Start with 120 grit sandpaper and carefully sand the repaired area until it is smooth and level with the surrounding surface.
- Switch to 220 grit sandpaper for a finer finish. Be gentle to avoid damaging the surrounding fiberglass.
- After sanding, wipe the area with a cloth dampened in acetone or rubbing alcohol to remove dust.
- If desired, apply matching paint over the repair to blend it with the rest of the hull. Allow it to dry according to the paint instructions.
Inspect Your Work
Once everything is dry, inspect your repair closely. Look for any imperfections or areas that may need touch-ups. A smooth, perfectly blended repair will not only look better but will also hold up longer.
Maintaining your fiberglass boat hull is critical to ensuring its longevity and performance. By following these steps, you can effectively repair chips and keep your vessel in top shape. Regular maintenance checks can also help you catch chips early, preventing larger repairs down the line.
Essential Tools and Materials for Fiberglass Hull Repairs
If you are looking to ensure your fiberglass boat remains in peak condition, it is crucial to be equipped with the right tools and materials for repairs. When chips or damages occur on the hull, having a well-stocked repair kit can make the process smooth and effective. Below is a detailed overview of essential tools and materials you will need for fiberglass hull repairs.
Essential Tools
Selected tools are critical for a successful fiberglass repair job. Here’s what you should consider adding to your toolkit:
- Safety Gear: Prioritize safety when working with fiberglass. This includes gloves, goggles, and a dust mask to protect against airborne particles and resin fumes.
- Sandpaper: Various grits are necessary. Coarse grit (60-80) is perfect for shaping while finer grits (180-400) smooth the surface for a clean finish.
- Saws: A rotary tool or a jigsaw can help you trim the damaged section of the fiberglass. These tools enable you to cut the patch to the perfect size.
- Putty Knife: A putty knife is used to spread the resin and fiberglass cloth during the repair process. Several sizes can help achieve different details.
- Roller and Brush: These are vital for applying resin evenly across the repaired area.
- Mixing Containers: Use disposable cups or old containers for mixing resin and hardeners, ensuring to follow the manufacturer’s instructions for ratios.
- Duct Tape: Handy for temporary fixes or to hold patch materials in place until the adhesive sets.
Key Materials
Your repair kit needs the right materials to ensure durability and seamless repairs. This include parts and substances that are standard in fiberglass repair:
- Fiberglass Cloth: This is crucial for reinforcing repairs. Choose the appropriate weight based on the size of the repair. Mat, woven roving, or fiberglass tape can be selected based on specific needs.
- Epoxy or Polyester Resin: Both resin types have their unique advantages. Epoxy is stronger and more flexible, while polyester resin is often cheaper and cures quickly. Choose the one that suits your project best.
- Hardener: All resins need a hardener to cure properly. Be sure to use the specific hardener recommended by the resin manufacturer.
- Fillers: Epoxy fillers or polyester gel coat can help achieve a smooth finish and repair holes. They also help achieve structural integrity.
- Gel Coat: Essential for providing a protective and aesthetic finish on the completed repair. It also helps in maintaining the boat’s shine.
Preparation and Organization
Once you have gathered your tools and materials, it’s crucial to prepare effectively. Lay out all your items so they are easy to access. This will save time and effort during the repair process. Here are some tips:
- Read Instructions: Familiarize yourself with the product guidelines for resin and fillers before starting. Each material may have specific preparation and usage instructions.
- Test Area: If you’re new to fiberglass repair, consider practicing on a scrap piece to get comfortable with the tools and materials.
- Clean Surface: Ensure the damaged area is clean and free from loose debris before starting your repairs. Use a vacuum or brush to remove all dust, ensuring proper adhesion.
Final Thoughts
Repairing chips in a fiberglass boat hull does not have to be a daunting task if you’re well-prepared and equipped with the right tools and materials. Each item plays a role in making the repair process efficient and successful. Remember, investing in quality materials and tools can extend the life of your boat, allowing you to enjoy many more adventures on the water.
Conclusion
Successfully repairing chips in your fiberglass boat hull not only restores its appearance but also ensures the vessel remains seaworthy and protected against further damage. By following the step-by-step guide detailed in this article, you can tackle chips with confidence, ensuring a professional finish without the need for expensive repairs. The process, while straightforward, requires careful attention to detail and the right materials.
Essential tools and materials play a crucial role in achieving lasting results. Always have your safety equipment on hand, including gloves and goggles, to protect yourself during the repair process. The right fiberglass repair kit will provide you with everything you need, from resins to applicators, allowing you to perform repairs efficiently. Additionally, using sandpaper and a clean cloth will help ensure a clean application and effective bonding between layers.
Remember, taking the time to properly repair chips in your fiberglass hull can prevent larger issues down the road. Regular maintenance and timely repairs not only enhance the longevity of your boat but also improve its performance on the water. With a bit of patience and practice, you can restore your boat’s hull to its original glory and enjoy many more adventures on the water. By applying these techniques and investing in quality materials, you empower yourself to keep your boat in top shape for years to come. Happy repairing!


