Effective Techniques for Repairing Inflatable Boat Seams
Repairing inflatable boat seams can seem daunting, but with the right techniques and tools, you can restore your boat to a ready-to-use condition. Whether your boat is made from PVC or Hypalon, understanding effective repair methods will save you time and money. Here, we will explore essential steps and tips that will guide you through the process of seam repair.
Identify the Damage
The first step in repairing inflatable boat seams is to identify exactly where the damage is located. Look for leaks or tears by inflating the boat and inspecting the seams closely. To pinpoint small leaks, you can use soapy water; bubbles will form where air escapes. Documenting the locations of the repairs can help you maintain a clear overview of the areas that need attention.
Gather Your Tools
Before you start the repair, it’s essential to gather all the necessary tools and materials:
- Patch Kit: A high-quality patch kit that matches your boat’s material.
- Adhesive: Make sure it is compatible with your inflatable boat material.
- Scissors: For cutting patches to size.
- Sandpaper: To roughen the area around the seam.
- Clean Cloth: For cleaning the surface before applying adhesive.
- Clamps or Weights: To hold the patch in place while it cures.
Clean the Area
Once you have identified all damaged areas, it is crucial to clean them thoroughly. Use a clean cloth to wipe away any dirt, oils, or moisture from the seams. If needed, you can use mild soap and water to ensure the area is free from grime. For better adhesion, lightly sand the repair area with sandpaper. This roughens up the surface, allowing the adhesive to bond more effectively.
Cut the Patch
Using the patch kit, cut a patch that is at least one inch larger than the damaged area. Make sure to shape the patch in a rounded manner, as sharp corners can lift and peel away easily. For larger repairs, more than one patch may be necessary. Always follow the instructions provided with the repair kit for optimal results.
Apply Adhesive
Carefully apply the adhesive to both the patch and the area around the seam. For best results, follow the manufacturer’s instructions regarding drying time and application techniques. Some adhesives may require a two-part mixing process or need to dry for a specific time before applying the patch. Be sure to read and adhere to these details to ensure a successful repair.
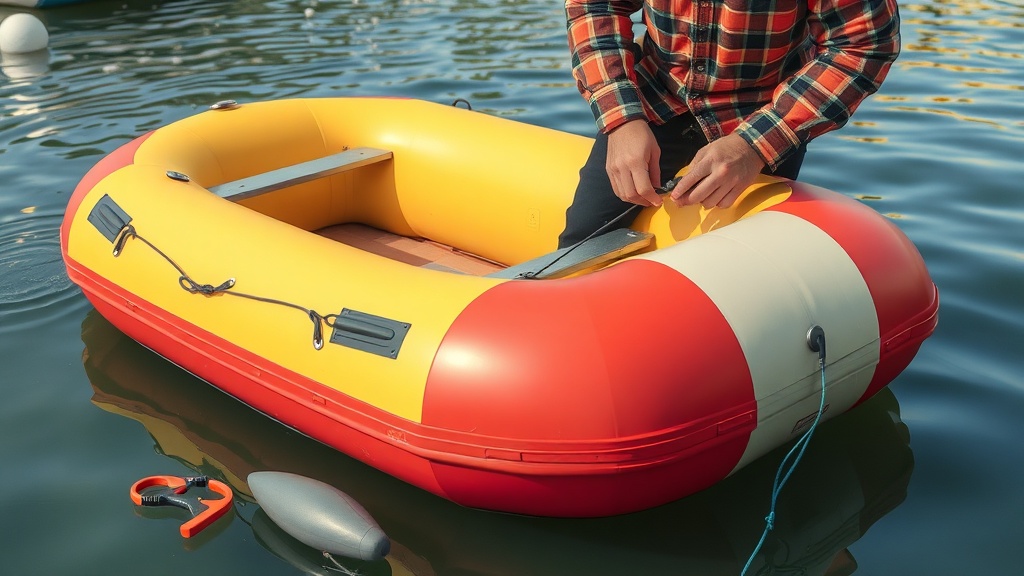
Attach the Patch
Once the adhesive is ready, place the patch firmly over the damaged seam. Press down evenly to eliminate any air bubbles and ensure a tight seal. If possible, use clamps or weights to hold the patch in place for the recommended curing time, usually several hours or overnight. This will help ensure the patch adheres properly and forms a strong bond.
Test the Repair
After the adhesive has fully cured, it’s time to test your repair. Inflate the boat and again check for any leaks. If you didn’t notice any bubbles during your previous test, then your seam repair was successful! If you do find leaks, you might need to repeat the repair process or consider moving onto other damaged areas as needed.
Prevent Future Damage
To prolong the life of your inflatable boat, consider preventive measures. Regularly inspect your boat, store it properly, and avoid dragging it over abrasive surfaces. Using a boat cover when not in use can also protect it from the elements, reducing wear and tear on the seams.
Learning how to repair inflatable boat seams can be a valuable skill that keeps your boating adventures enjoyable and hassle-free. With the proper techniques and maintenance, you’ll be able to extend the life of your inflatable craft, ensuring countless hours of fun on the water.
Essential Tools and Materials for Seam Repair on Inflatable Boats
Repairing seams on your inflatable boat is crucial for maintaining its integrity and ensuring a safe experience on the water. Whether you’re dealing with a minor leak or a significant tear, having the right tools and materials on hand can make the repair process smoother and more effective. Below, we’ll discuss the essential items you’ll need to tackle inflatable boat seam repairs.
Adhesives
A strong adhesive specifically designed for inflatable materials is your best friend during seam repairs. Look for:
- PVC Adhesive: Perfect for PVC inflatable boats, this adhesive creates a robust bond when applied correctly.
- Hypalon Adhesive: If your inflatable is made from Hypalon, ensure you’re using adhesive formulated for this material.
- Flexible Marine Adhesive: This works well for a variety of inflatable materials and ensures that the bond remains flexible.
Surface Preparation Tools
Before you apply any adhesive, you need to prepare the surface of the seam. Key tools include:
- Acetone: This is excellent for cleaning and prepping the surface. It removes grime, oils, and old adhesive residue.
- Sandpaper: Use fine-grit sandpaper to roughen the area around the seam where you will apply the adhesive. This improves adhesion.
- Clean Cloths: Keep a few lint-free cloths handy to wipe down the surface after cleaning and sanding.
Repair Patches
For larger holes or tears, using a patch is essential. Ensure you have:
- Pre-Cut Repair Patches: Many boating supply stores sell pre-cut patches designed for specific materials. Choose the right size for your need.
- DIY Patch Material: If you want to cut your own patches, use the same material as your boat. This ensures compatibility.
Application Tools
When it comes time to apply adhesive and patches, having the right tools is essential for precision and effectiveness:
- Brush or Roller: A small brush or roller can help apply adhesive smoothly on the seam and the back of the patch, ensuring even coverage.
- Plastic Spreader: This is useful for smoothing out the patch after applying it, helping to eliminate air bubbles and ensure good contact.
- Roller or Weight: Use a small roller or a weight to press down on the patch firmly and evenly while the adhesive cures.
Protective Gear
Safety should always come first when working with adhesives and chemicals. Equip yourself with:
- Gloves: Nitrile gloves protect your hands from chemicals.
- Mask or Respirator: If you’re sensitive to fumes, use a mask or respirator to avoid inhaling harmful chemicals.
- Safety Goggles: Protect your eyes from splashes or fumes while working with adhesives.
Time and Patience
While not a physical tool, setting aside enough time and being patient during the repair process is crucial. Most adhesives require specific curing times that must be followed to achieve a strong bond. Be sure to read the instructions carefully and resist the temptation to rush the process.
Repairing seams on your inflatable boat can be a straightforward task if you have the right tools and materials. From adhesives to protective gear, being prepared will help ensure your repairs are successful and your boating adventures remain enjoyable. Don’t wait for a small seam problem to turn into a bigger issue; equip yourself and keep your inflatable boat in top shape!
Conclusion
Successfully repairing inflatable boat seams can significantly extend the life of your vessel, allowing you to enjoy countless adventures on the water. By utilizing effective techniques such as applying patches or using sealants, you can ensure a sturdy and watertight repair. Whether you’re dealing with minor leaks or larger tears, following the right steps can make a world of difference. Remember that preparation is key; cleaning the area and gathering the necessary tools and materials will lead to a more seamless repair process.
Having the right tools and materials on hand is crucial for tackling seam repairs efficiently. Items like adhesive, patches, scissors, and clean cloths are essential for effective seam repair. Investing in high-quality materials will yield better results and provide a longer-lasting fix. It’s not just about making a quick fix; it’s about ensuring that your inflatable boat remains safe and enjoyable for all your outings.
Taking the time to properly repair seams will ultimately save you both money and time in the long run. Instead of replacing your inflatable boat due to seam issues, you can address the problem head-on and keep your vessel ready for the next adventure. With a little patience and the right approach, you’ll have your inflatable boat back in top shape, allowing you to explore lakes, rivers, and seas with confidence and ease. Equip yourself with the knowledge and skills to handle these repairs, and you’ll enjoy many more fun-filled trips on the water.